Posts Tagged 'free recipe'

Feijoa Chutney!!!


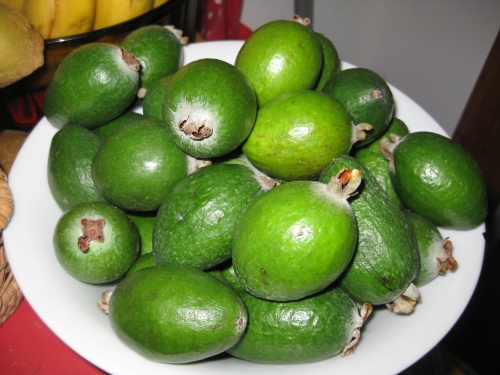
What to do with all that fruit? As winter deepens and the fruit becomes expense it’s nice to have a little bit of fruit tucked away in the cupboards for warm winter deserts and breakfasts!

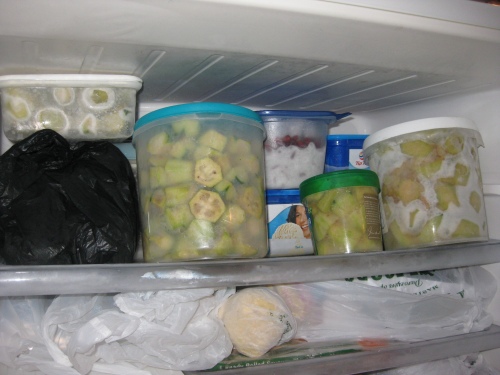
A couple of weeks ago I set about turning the 10kg  of Feijoas (minus the frozen ones nabbed by my flatmates for smoothies 🙂 ) into something preservable!

I settled for Feijoa Chutney!

I fiddled around with the recipe and unfortunately I didn’t record the exact recipe, next time I will though, promise!

Here is the recipe I based it off though and it’s Edmonds so it’s tried and true!

2kg apples/tamarillos/plums/feijoas peeled, cored, stoned and chopped.

500g onions

2 cups raisins

1 clove garlic – crushed

4 cups brown sugar (I quite severely reduced this)

2 teaspoon salt

1 teaspoon ground cloves or mixed spice

1/2 teaspoon cayenne pepper

4 cups malt vinegar (I also reduced this to taste)

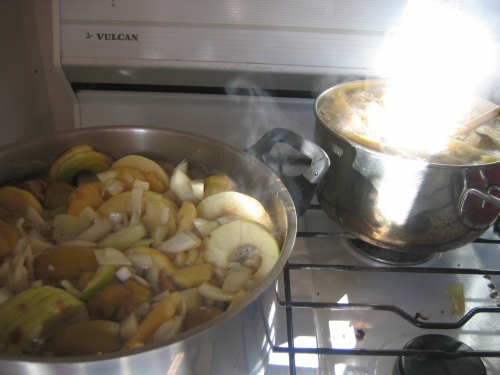
Put fruit, onion, raisins, garlic, sugar, salt, cloves and cayenne pepperinto a perservingpan. Add enough vinegar to almost cover. Stir well. Boil gently with frequent stirring for 2 hours or until chutney is thick and jam like. Pack into sterilised jars.

Makes about 6x350ml jars.

Hooray!
Let them eat cake!

While it is apparently a popular misconception that Marie Antoinette pronouced, “Let them eat cake”, it’s still a good story! This week Nanatech brings you another royal recipe!

These scrummy little “queen cakes” can be baked in patty tins or i’ve found normal muffin tins will also suffice. They are light and fluffy and strewn with currants.

Now I don’t know about you, but I didn’t know the difference between currants and raisins till a wee while ago! But now I do! I also found that soaking them in red wine in the fridge for a few days makes them as nice as the cooking books suggest!

So without further delay, here is the recipe!

115g Butter or Margarine

115g Caster Sugar

2 Eggs

85g Flour

1/4tsp Baking Powder

1tsp Lemon Zest

115g Currants (well drained if soaked)

-Cream butter and sugar thoroughly until light and fluffy.

-Beat in eggs a little at a time and add the finely grated lemon zest, the sifted dry ingredients and lastly the currants.

-Spoon into the patty tins, which should be 2/3 full (or 1/4-1/2 full for muffin tins) and bake for 15 minutes or until golden.

-Remove from the pans when cooled and eat!

Pikelet Competition

My Mum would always tell stories about the old grandmas and nanas at the A+P shows that would enter the competitions for the perfect pikelet. She would take about how the were perfect in size and eveness and had a evenly toned brown colouring. I would as you can imagine wonder how these ladies managed to pull off such a feat when mine always came out well…a bit messy.

When reading through my new cookbook I found a handy hint that had been taken from a nineteen thirties cookbook explaining that instead of using butter you can use a cut potato to grease the pan to give the pikelets an even colour. Well I was a bit skeptical of this, but it worked!! (well sort of, better than usual, lets just put it that way!)

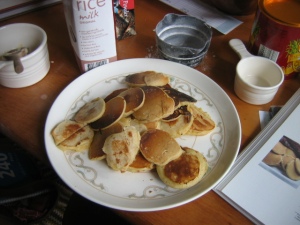
As you can see, my pikelets weren’t exactly perfect but they are a damn sight better than they usually are!

Here is the recipe I used:

1 Egg

2tbsp Castor Sugar

170ml Milk

125g Flour

1tsp Baking Powder

1tbsp Butter

1tbsp Golden Syrup (optional but reccomended by me!)

Beat the egg and sugar in a mixing bowl until pale and fluffy

Tip in the milk, sifted flour, baking powder and lastly the melted butter and golden syrup. Mix well.

Grease the surface of the pan with the potato or oil

Then you know the drill, pour or spoon mix onto hot pan, wait for the bubbles then flip.

Enjoy!

Scottish Ancestry

And so this week began a new year of university. And the first week of university means back to packed lunches, which as my Mum knows, I get very sick of very quickly. There’s only so much plain sandwiches one can take!

So to add something interesting (and sweet) to my lunch box this week I baked up these biscuits which are purportedly from a Scotish and Irish recipe book originally.

Here’s the recipe for Gipsy Creams:

115g butter OR margarine

115g caster sugar

2tsp orange zest

2tsp golden syrup

1 egg yolk

170g flour

1/4 tsp salt

1/2 tsp cream of tartar

1/2 tsp baking soda

Cream the butter and sugar together until well blended, then beat in orange zest and golden syrup. Mix in the egg yolk.

Mix sifted dry ingredients into the wet mixture and use your hands or a wooden spoon to kneed the mixture, it will be quite crumbly.

Place teaspoons of the dough on lined or greased baking sheets without flatting them out.

Bake for 20min at 190C.

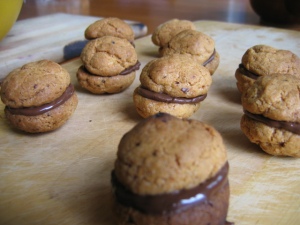
To stick together: Use melted chocolate or icing with orange zest and juice instead of water.

note: your gypsy creams should come out thinner than mine, I made these a bit more “rounded”

Ginger Kisses in the Morning

Yesterday I got up super early…9am to bake Ginger Kisses from my brand new baking book!  I had planned to do them the night before but ended up at parliament instead!

The came out beautifully with a somewhat “homemade” look to them, they certainly aren’t no shop bought ones! The ginger flavour is much stronger and the shell is somewhat crispier but still soft in the middle.

As I’m dairy free, I made this recipe with margarine and was thrilled it worked so well.

Ginger Kisses:

115g Butter OR Margarine

85g Castor Sugar

1 Egg

2tsp Golden Syryp

1 Cup Flour

1/2tsp Baking Powder

1tsp Ground Ginger

1tsp Cinnamon

1/2tsp Baking Soda

1tbsp Hot Water

Cream the butter and sugar untill the mixture is light and fluffly, beat in the egg  and the golden syryp.

Fold in the sifted dry ingredients and then the baking soda disolved in the hot water. Mix together.

Put the mixture in teaspoon dollops on baking trays greased or lined with paper

Bake for 10 minutes at 180degrees C

Icing:

2tpsp Butter

1Cup Icing Sugar

1/2tsp Vanilla Essence

2tbsp Boiling Water

1tbsp Preserved Ginger (cut very finely)

Once ginger kisses are cool beat the butter, icing sugar and vanilla together with a beater, add boiling water bit by bit until the mixture is light and creamy then fold in prserved ginger. Match the ginger kisses up according to size and leave to set. Store in an airtight container.

Recipe care of “Ladies, A Plate” by Alexa Johnson

Autumn’s a coming

Autumn is on it’s way…and that means preserving time again!

I have been busy away in my kitchen, working for 6 hours straight some days to preserve cheap fruit from the market.

So far we’ve got

Pasta Sauce

Plum and Apple Jam

Strawberry Jam

Black Doris Plum Jam

Savoury Peach Chutney

Bottled Peaches

Bottled Apricots

Lemonade

and we have big plans for more bottling, tomato sauce, pickles and blueberry mead!

In tune with the season, this posts recipe is for Black Doris Plum jam, the BD plums will be just finishing now so it’s the best time to get the last of the season.

2kg Black Doris Plums, halved and stoned

1 1/2 cups water

7 cups sugar

Put plums and water into a preserving pan. Boil until soft and pulpy. Add sugar and stir until disolved. Boil for at least 15 minutes but most likely more. Pour into sterilised jars.

To test if the jam will set:

Once the sugar has been added to the mix, place a saucer in the fridge, after 15-20min take the saucer out. Using a spoon dollop some mix onto the plate and leave near an open window to cool slightly, run your finger through the jam mix, when the mix parts cleanly and the surface wrinkles, the jam will set. If the jam doesn’t do this then rinse the plate and put back in the fridge to try again in 1o minutes.

To sterilise jars:

Rinse jars in hot soapy water, place in the oven at 120degree C for 20 minutes, leaving the door ajar to let them cool slightly (put hot hot jars in a cold metal sink will cause them to shatter). Boil the lids for 5 minutes to sterilise.

Makes 6-8 jam jars full.

* Basic recipe care of Edmonds Cook Book.


Join 11 other subscribers
Contact us at: nanatechnz@gmail.com